Did your air conditioning stop working at the worst possible time? It always seems to happen when the temperature hits triple digits. If your vehicle’s a/c system suddenly quit on you, you’re not alone, and you shouldn’t ignore it. Understanding what’s behind the problem can save you time, money, and frustration.
Why Your Car’s A/C Might Fail
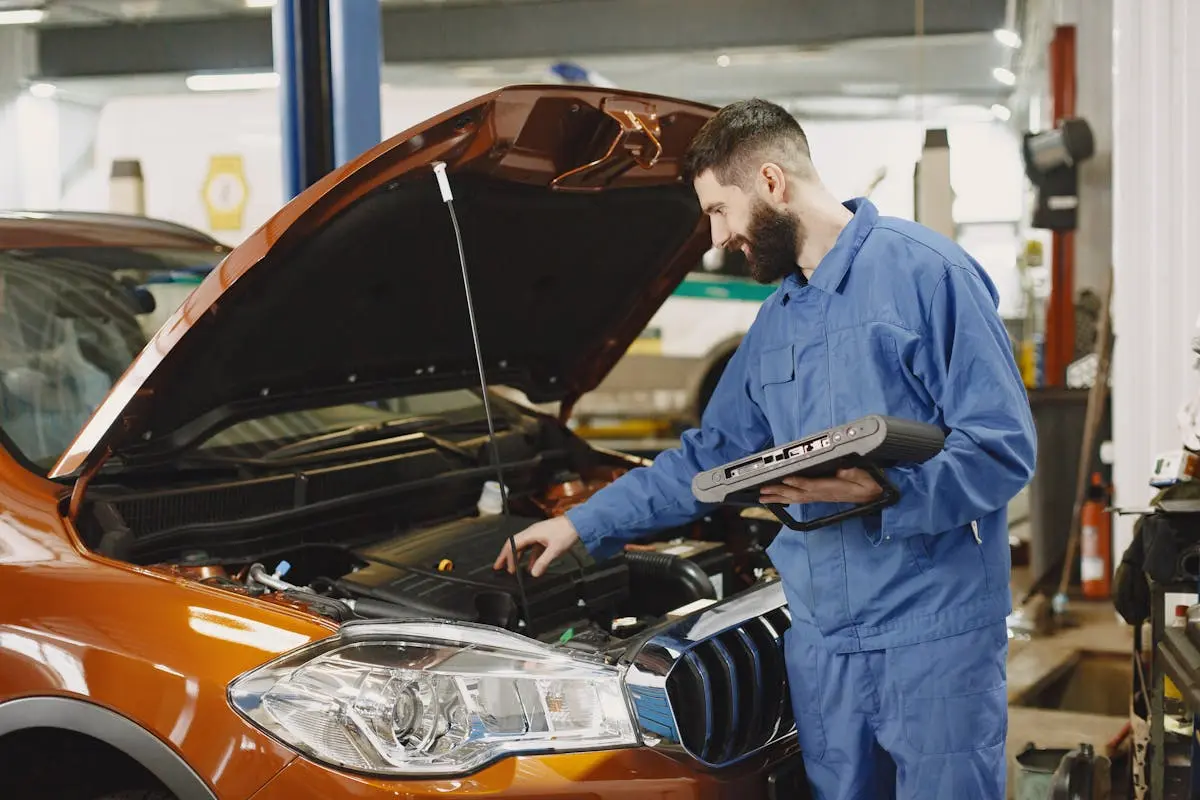
If you haven’t had your vehicle inspected recently, now is a great time to schedule an a/c diagnostic. While many people assume it’s just “low on freon,” the truth is that low refrigerant typically indicates a leak. However, there are several possible reasons for a/c failure:
- Faulty cooling fan motor
- Malfunctioning compressor
- Defective sensors or switches
- Electrical issues or a bad control panel
Each of these requires a proper diagnosis to avoid throwing parts at the problem without solving the root cause.
Why You Shouldn’t DIY A/C Repairs
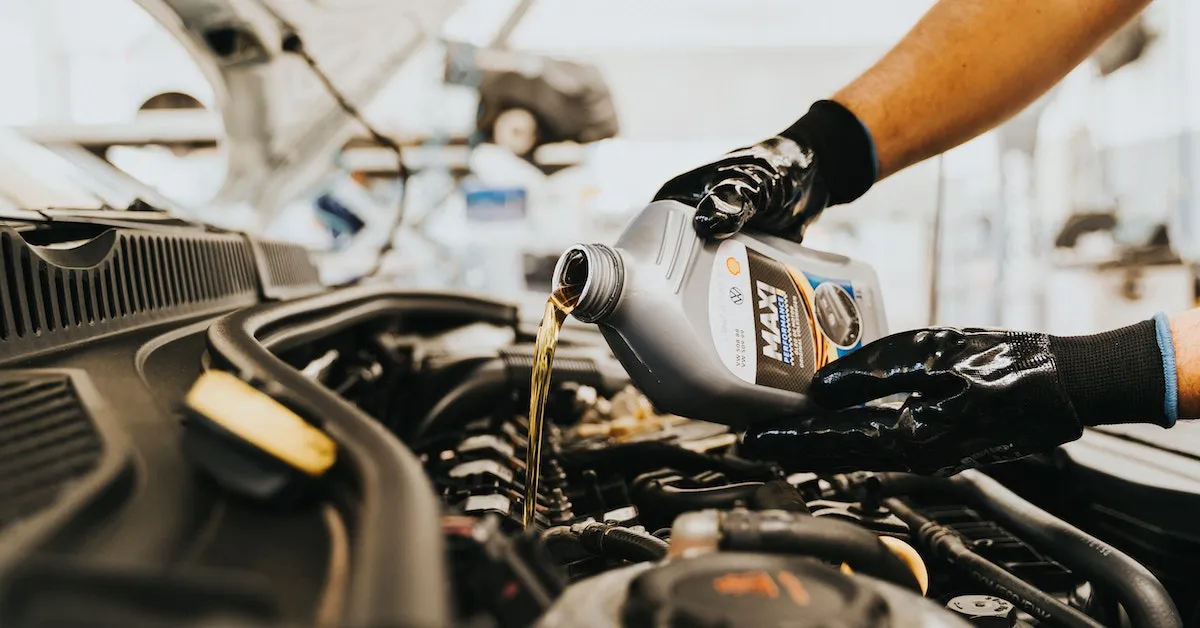
It might be tempting to pick up a DIY recharge kit from your local auto parts store, but resist the urge. Overfilling your system or using the wrong type of refrigerant can cause significant damage. A licensed professional should always handle refrigerant and system pressure testing to avoid damaging components.
Here’s why you should skip the DIY route:
- Incorrect refrigerant can harm your system.
- Overfilling can damage compressors, seals, and other components.
- No warranty is provided with DIY kits.
For peace of mind and long-term protection, always go to the dealership or a trusted, certified shop with OEM parts access.
Choosing the Right Repair Facility
Not all shops are created equal. You can go to an aftermarket shop, but you must ensure:
- The technician understands your specific vehicle’s a/c system.
- The shop uses OEM (Original Equipment Manufacturer) parts.
- The diagnosis is thorough and well-documented.
Cheaper parts may seem appealing, but when it comes to car repairs, you usually get what you pay for. That’s why I always recommend going to the dealership, especially if your vehicle is newer or still under warranty.
How to Handle the Repair Estimate
When you receive a repair quote, be proactive. Ask to see a breakdown of parts and labor. Confirm the shop’s hourly rate and inquire about any “miscellaneous charges.” You should also verify that the quote aligns with the diagnosis.
Common Estimate Red Flags:
- Refrigerant charges listed despite no confirmed leak
- Multiple unrelated parts included without justification
- No explanation for labor hours or shop fees
If something looks off, ask for clarification and have the estimate updated before authorizing the work. Your confidence in the technician and the repair process matters.
Final Thoughts on A/C Repairs
If your air conditioning stopped working, don’t panic, but also don’t delay. Choosing a qualified technician, asking the right questions, and insisting on OEM parts can make all the difference. That’s why the dealership remains my go-to recommendation: skilled techs, OEM parts, nationwide warranty, and accountability.
For related car-care tips that save you money, check out: Are You Using the Proper Fuel for Your Vehicle?
Air Conditioner Repair FAQs
Common reasons include refrigerant leaks, electrical issues, or failed components like compressors or sensors.
It’s not recommended. DIY kits can overcharge the system or introduce the wrong type of refrigerant, leading to major damage.
While not required, dealerships offer certified technicians, OEM parts, and nationwide warranties, making them a smart choice for critical repairs.
Ask for a detailed breakdown of parts and labor, and compare it with the technician’s diagnosis. If something seems off, don’t hesitate to ask questions.
Yes. If a part isn’t needed or seems questionable, ask the shop to remove it and update the estimate before you approve any work.
No. An air conditioning recovery machine will place a vacuum on the system and remove any moisture. So there is no need to replace the receiver drier.
Drier replacement is necessary if the system has been left open for many days, in a high humidity environment. Or when system contamination is evident. However, if the vehicle manufacturer has documentation that states the component must be replaced then you should authorize its replacement.
The failed component must be replaced, usually that is the compressor. Afterwards, the receiver drier must be replaced and a system flush must occur. In some cases, the condenser, and other components must also be replaced depending on the type of debris and how far they traveled. This can be determined during system teardown inspection.
If the technician did not add refrigerant, you should not be billed for it. However, if the technician found the refrigerant low, added refrigerant, but could not pinpoint a leak, then you would be responsible for the cost of the refrigerant. But, be sure they document how low the system was and how much they added.
There may be a leak in the evaporator.
The A/C compressor.
The drive belt may be worn, or it might be the incorrect size, or not have the proper tension due to poor adjustment or a failed belt tensioner. Worst case scenario, the compressor may have an internal issue. Thorough diagnosis will be necessary.
The dye, commonly bright green, will become visible at the source of the leak. This may take several minutes, hours, or even days to develop. If you notice green, oily-dye present on or around any A/C component, that is an indication of a leak. Additionally, if you observe dye mixed with the water that drips from your evaporator drain line, that is an indication of a failed evaporator.
The most likely cause is a leak in the A/C refrigerant system. Or it may just be failed or uncalibrated blend door actuators. Thorough diagnosis will be necessary.